Spring Boot JPA 게시판 페이징 처리 구현
by coco3o게시글 리스트를 보여주는 과정에서, 개수가 많아지는 경우 모든 게시글 데이터를 한번에 뿌려주는 것보다
페이지별로 나눠서 보여주는 것이 깔끔하고 데이터 절약에 좋기 때문에 게시글 리스트 페이징 처리를 구현해보려 한다.
우선, 어떻게 구현해야할지 구글링을 해봤는데, 페이징 처리 구현하는 것은 상당히 복잡했고, 방법도 다양했다.
되도록이면 쉽고 간단하게 만들어보려고 한다.
1. Service
    /* Paging */
    @Transactional(readOnly = true)
    public Page<Posts> pageList(Pageable pageable) {
        return postsRepository.findAll(pageable);
    }
서비스에서 구현한 페이징 기능이다.
여기서 가장 주의해야할 점은 다음과 같다.
Page<T>을 타입으로 지정하면, 반드시 파라미터로 Pageable을 받아야 한다.
Spring Data JPA에서 페이징 처리와 정렬은 findAll() 메소드로 한다.
findAll() 메소드 파라미터로 pageable을 넣어주면 끝이다.
간단하게 Service단의 구현은 끝이 났다.
2. Controller
    @GetMapping("/")                 /* default size = 10 */
    public String index(Model model, @PageableDefault(sort = "id", direction = Sort.Direction.DESC)
            Pageable pageable) {
        model.addAttribute("posts", postsService.pageList(pageable));

        return "index";
    }
다음은 Controller부분이다. 필자는 메인화면에 리스트를 보여주고 있기 때문에 index 파일에 해당 기능을 구현하였다.
@PageableDefault을 사용해 간단하게 구현했다.
이 어노테이션을 사용하지 않으면 Repository에 정렬 쿼리를 작성해야하고 페이징 처리, 페이지의 사이즈까지 각각 구현해야 하지만, @PageableDefault 어노테이션으로 한방에 구현했다.
● @PageableDefault
○ size : 한 페이지에 담을 모델의 수를 정할 수 있다. 기본 값은 10이다.
○ sort : 정렬의 기준이 되는 속성을 정한다.
○ direction : 오름차순과 내림차순 중 기준을 선택할 수 있다.
○ Pageable pageable : PageableDefault 값을 갖고 있는 변수를 선언한다.
3. 중간결과 확인

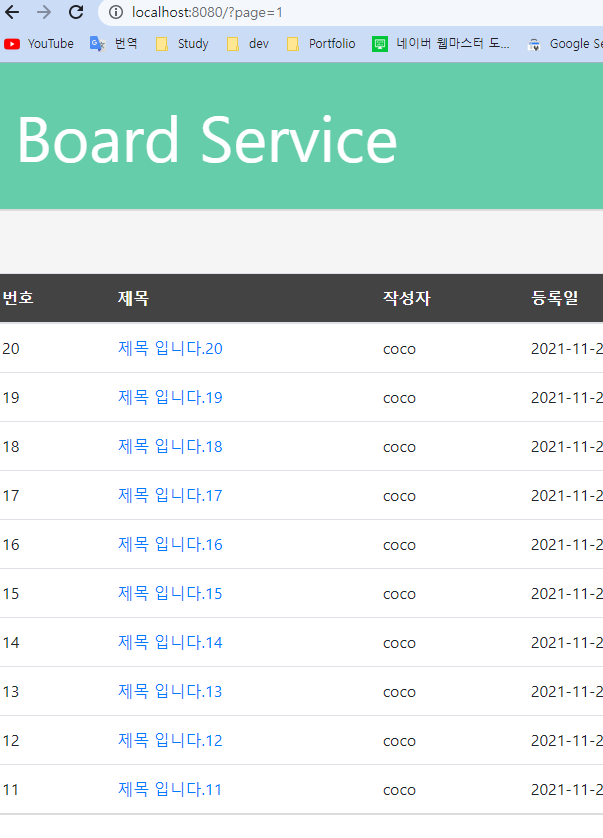
페이지의 사이즈가 10이고, 번호를 기준으로 내림차순 정렬된 걸 볼 수 있다.


위의 URL을 보면 뭔가 이상함이 느껴진다. 바로 page의 값이 0부터 시작하는 것인데,
Spring Data JPA에서 페이지 처리는 항상 '0'부터 시작한다는걸 꼭 알고 가도록 하자.
4. Pagination에 따른 동적인 URL 구현
필자는 mustache를 템플릿 엔진으로 사용하고 있다.
mustache에서는 증감연산식을 지원하지 않아 URL 부분 처리를 다음과 같이 했다.
4-1. index.mustache
{{>layout/header}}

<div id="posts_list">
    <table id="table" class="table table-horizontal">
        <thead id="thead">
        <tr>
            <th>번호</th>
            <th>제목</th>
            <th>작성자</th>
            <th>등록일</th>
            <th>조회수</th>
        </tr>
        </thead>
        <tbody id="tbody">
        {{#posts}}
        <tr>
            <td>{{id}}</td>
            <td><a href="/posts/read/{{id}}">{{title}}</a></td>
            <td>{{writer}}</td>
            <td>{{modifiedDate}}</td>
            <td>{{view}}</td>
        </tr>
        {{/posts}}
        </tbody>
    </table>
    <div class="text-right">
        <a href="/posts/write" role="button" class="btn btn-primary bi bi-pencil-fill"> 글쓰기</a>
    </div>

    {{! Page }}
    <div class="pagination justify-content-center">
        <a href="?page={{previous}}" role="button" class="btn btn-lg bi bi-caret-left-square-fill"></a>
        <a href="?page={{next}}" role="button" class="btn btn-lg bi bi-caret-right-square-fill"></a>
    </div>
</div>
{{>layout/footer}}
4-2 Controller
    @GetMapping("/")                 /* default size = 10 */
    public String index(Model model, @PageableDefault(sort = "id", direction = Sort.Direction.DESC)
            Pageable pageable) {
        model.addAttribute("posts", postsService.pageList(pageable));
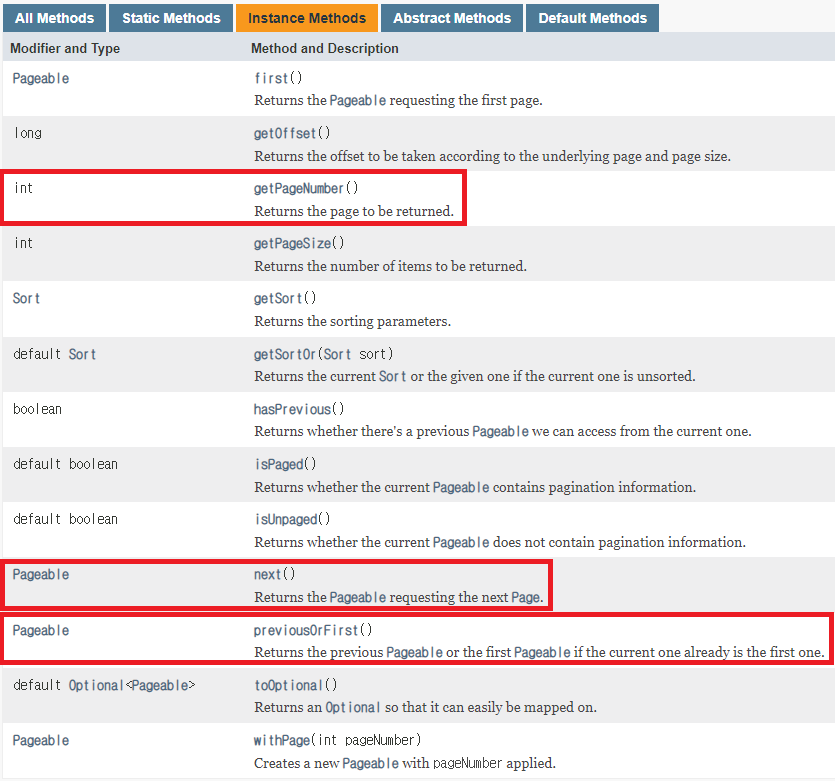
        model.addAttribute("previous", pageable.previousOrFirst().getPageNumber());
        model.addAttribute("next", pageable.next().getPageNumber());

        return "index";
    }
Controller단에서 pageable의 메소드를 이용해 동적 URL 처리를 하였다.

5. 중간결과 확인


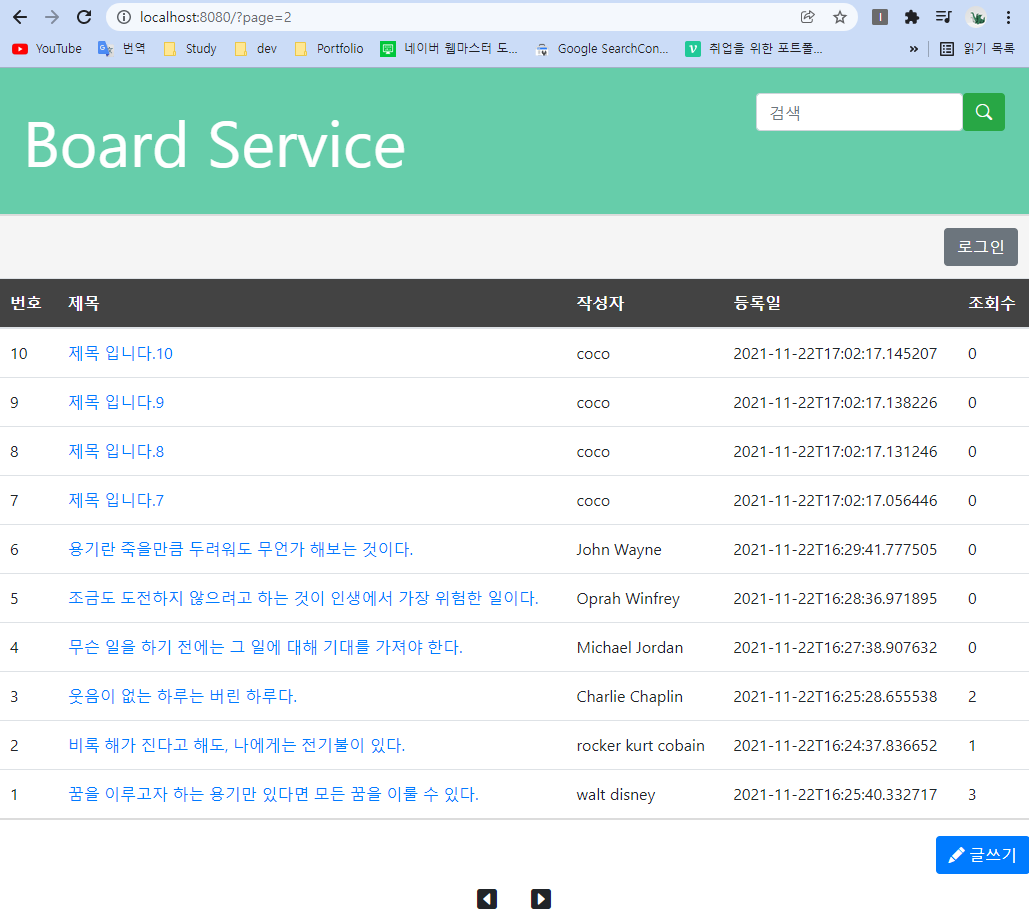
아래 [>] 버튼을 누르면 페이지 이동이 성공적으로 진행된다.
하지만 바로 또 다른 문제에 직면했다.
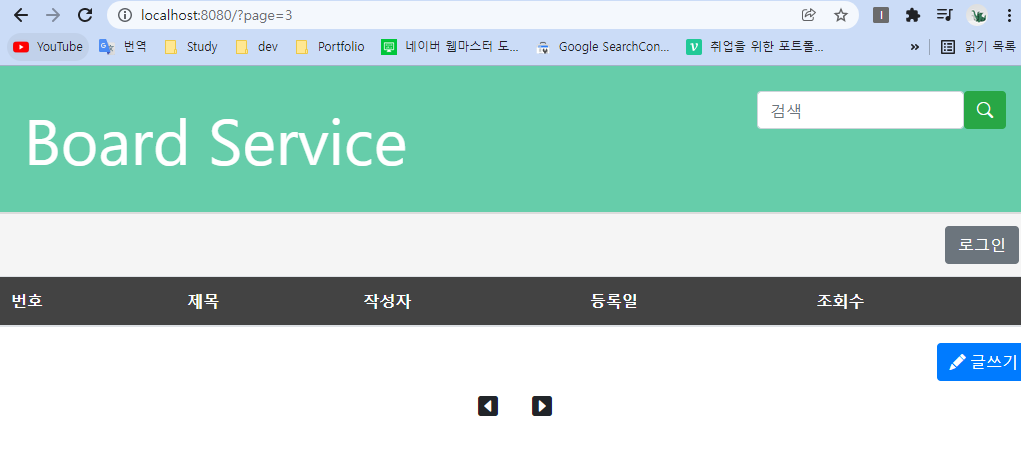
[>] 버튼을 계속 누르면 게시글이 없어도 page 가 끝없이 증가되어 나온다는 것이다. 아래 사진을 보자.


게시글은 총 30개이고, page 1당 10개씩 총 3개의 page(0, 1, 2)가 끝이어야 하는데,
[>] 버튼을 누르면 게시글이 없는데도 불구하고 page가 계속 증가되면서 빈 페이지를 로드한다.
6. Page의 처음과 끝이라면 버튼 비활성화(disabled)
6-1. Controller
    @GetMapping("/")                 /* default page = 0, size = 10  */
    public String index(Model model, @PageableDefault(sort = "id", direction = Sort.Direction.DESC)
            Pageable pageable) {

        Page<Posts> list = postsService.pageList(pageable);

        model.addAttribute("posts", list);
        model.addAttribute("previous", pageable.previousOrFirst().getPageNumber());
        model.addAttribute("next", pageable.next().getPageNumber());
        model.addAttribute("hasNext", list.hasNext());
        model.addAttribute("hasPrev", list.hasPrevious());

        return "index";
    }
Page타입의 pageList를 받는 list 객체를 만들어 hasNext(), hasPrevious() 메소드를 사용해서 이전/다음 페이지 유무에 따른 true/false를 반환하게 해줬다.
6-2. Mustache
    {{! Page }}
    <div class="pagination justify-content-center">
        {{#hasPrev}}
            <a href="?page={{previous}}" role="button" class="btn btn-lg bi bi-caret-left-square-fill"></a>
        {{/hasPrev}}
        {{^hasPrev}}
            <a href="?page={{previous}}" role="button" class="btn btn-lg bi bi-caret-left-square-fill disabled"></a>
        {{/hasPrev}}

        {{#hasNext}}
            <a href="?page={{next}}" role="button" class="btn btn-lg bi bi-caret-right-square-fill"></a>
        {{/hasNext}}
        {{^hasNext}}
            <a href="?page={{next}}" role="button" class="btn btn-lg bi bi-caret-right-square-fill disabled"></a>
        {{/hasNext}}
    </div>
"hasNext"와 "hasPrev"를 mustache에서 받아 이전/다음 페이지가 없으면 disabled로 비활성화 해준다.
mustache의 조건문은 다음과 같다.
{{#hasNext}}
hasNext가 true면 실행
{{/hasNext}}
{{^hasNext}}
hasNext가 false면 실행
{{/hasNext}}
7. 결과 확인

이전 페이지가 없는 첫번째 페이지라 [<] 버튼이 비활성화 되었다.

page의 끝에 오면 [>] 버튼도 비활성화 되어있는 것을 볼 수 있다.
'📌ETC > Development Log' 카테고리의 다른 글
| Spring Boot JPA 게시판 Security 회원가입,로그인 구현 (5) | 2021.12.13 |
|---|---|
| Spring Boot JPA 게시판 LocalDateTime format 변경하기 (0) | 2021.12.02 |
| Spring Boot JPA 게시판 검색 기능 & 검색 페이징 구현 (4) | 2021.11.25 |
| Spring Boot JPA 게시판 조회수 기능 추가 (7) | 2021.11.20 |
| 신입 백엔드 포트폴리오 만들기 - 프로젝트 명세서 (31) | 2021.11.10 |
블로그의 정보
슬기로운 개발생활
coco3o